Custom Wraps and Bespoke Boxes – Turn Your Idea Into a Product.
Sometimes turning your idea into a physical product can throw up a few curve balls, this short guide will help you get on the right track.
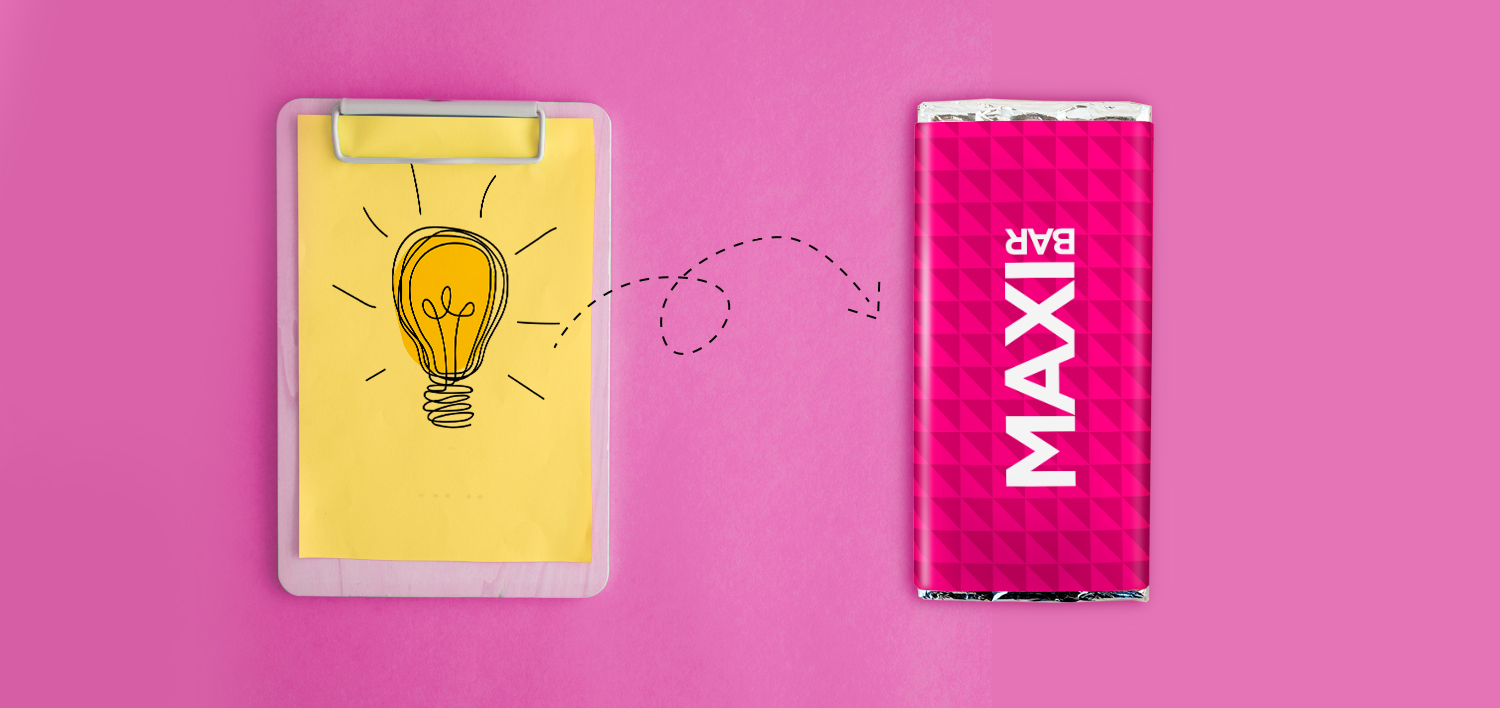
Where to Start?
You’ve got a winning idea that you need to turn into reality, but before you put that order in you should ask yourself a few key questions:
- What am I communicating?
Tying in an eye-catching design with a relevant product can really help get your message across and stick in your audience’s mind. - How much information do I need to get across?
Keep in mind different products vary in size, if you need to convey a lot of information then go for a product with a larger print area like a Maxi chocolate bar. Don’t try to squeeze a lot of text onto something small like a chocolate neo, it may look fine zoomed in on screen but it will be tiny and illegible when it’s printed. - Do I need a completely bespoke product designed for me, or can I adapt my idea to fit an existing one?
Sometimes you can come up with a big idea but you’re working to a restricted budget. We offer a completely bespoke service, but we find more often than not one of our existing products will meet all your projects most important needs on a tighter budget.
If you’re stuck for picking a product or have decided that a completely bespoke option is best for you give us a call and we’ll go through your options.
Idea to Artwork
You’ve picked your product and downloaded the artwork template and now it’s time to put some artwork on the packaging, the task can be a bit daunting especially if you don’t have your own design team, we have a few tips to help you out, we also offer a design service if required.
- Research your target audience -
Different designs appeal to different demographics, figure out who your audience is and find out the kind of design that works for them. - Double check orientation and tabs -
When a template for a product is laid flat sometimes there will be areas where you will have to rotate or angle your artwork so that it looks correct when the packaging is assembled, there may also be areas that will be covered when a tab is folded or a lid is closed. Make sure to keep an eye on these areas and move artwork accordingly.
Why not print a test sheet at the correct size and apply all the folds. This will give a great indication on how the final product will look when completed. - Keep important info or artwork elements away from fold or cut lines -
There can be a degree of movement during the printing and cutting process, putting artwork too close to these lines may mean you risk losing or obscuring something important. - Make sure you use the template provided and don’t edit it –
Different companies may offer similar products and the templates may even look quite similar, but using the wrong template or resizing the one you have been provided with can be a recipe for disaster. Even a small difference in size or layout can cause havoc when it comes to printing and even result in the need for a complete redesign.
Getting Ready to send to Print
Once your artwork is set up, you’ll need to check that it’s ready to be printed. Before you send it off make sure that:
- All images are embedded and text is outlined –
Fonts are normally stored on your computer as are linked images, so without outlining your text and embedding your images the printer may not have access to them resulting in missing font errors and broken image links. - Any pantone colours have been assigned within the artwork –
Digital printers don’t match exactly to pantone colours but if you assign them within your artwork we will do our best to make sure they match as close as possible.
As always if you would like any more help setting up an order please don’t hesitate to get in touch.